Daily Plan
更新: 6/14/2025 字数: 0 字 时长: 0 分钟
#todo
- [ ]
- [ ]
Daily Study
更新: 6/14/2025 字数: 0 字 时长: 0 分钟
实验室AI+程序分析服务器
Host gpu
    HostName 222.20.126.133
User aosnow前后端后台启动
普通部署方式
后端在17771端口
nohup python manage.py runserver 0.0.0.0:17771 >/home/aosnow/project/django_17771.log 2>&1 &

前端在17772端口
nohup npm docs:dev >/home/aosnow/project/docs_17772.log 2>&1 &后端生产部署方式
安装生产服务器 pip install gunicorn
配置一个gunicorn_config.py
# 并行工作进程数

import os

workers = (2 * os.cpu_count()) + 1  # 自动计算:CPU核心数×2+1


# 每个worker的线程数

threads = 4


# 绑定地址

bind = '0.0.0.0:17771'


# 超时设置(秒)

timeout = 30

graceful_timeout = 10


# 日志配置

accesslog = 'access.log'

errorlog = 'error.log'

loglevel = 'info'


# 最大并发连接数

worker_connections = 1000


# 防止内存泄漏

max_requests = 1000

max_requests_jitter = 50启动命令优化
gunicorn -c gunicorn_config.py --preload ChatQuestion.wsgi前端生产构建
构建生产包
npm run docs:build
使用高效静态服务器
nohup npx serve docs/.vitepress/dist -l 17772 --single >frontend.log 2>&1 &
Nginx和vite转发的学习
后台启动方法 远程神器 screen命令的保姆级详解教程+举例-CSDN博客
整个转发流程:
- 在本地 17771 端口用生产模式指令启动后端
- 在本地 17772 端口启动前端,我这里直接用了
pnpm docs:dev - 前端会自动寻找本地的17771端口作为后端服务
- 服务器会把17772端口进行转发,用户可以通过URL访问,服务器转发配置和nginx配置如下
config tunnelL survey2
       option server           srvwrt
       option localaddress     0.0.0.0
       option localport        42002
       option remoteaddress    222.20.126.133
       option remoteport       17772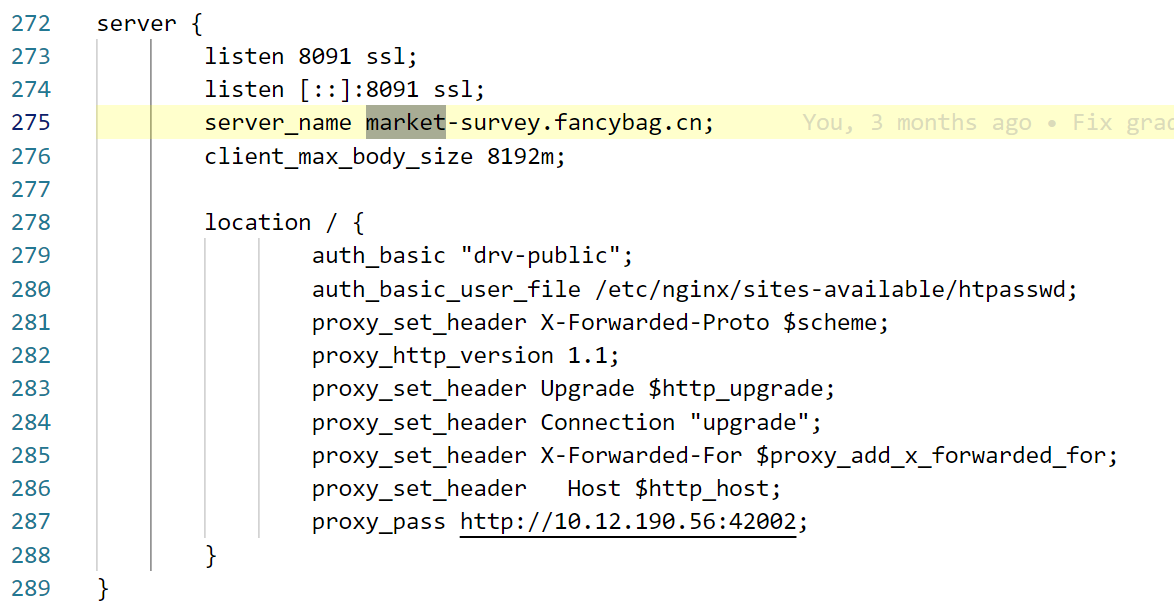
Daily Problem
更新: 6/14/2025 字数: 0 字 时长: 0 分钟